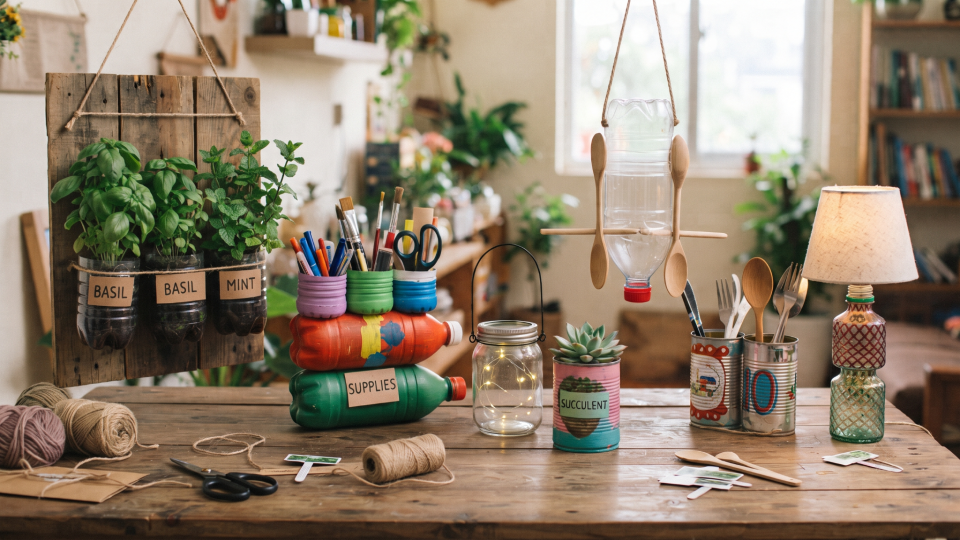
An empty sauce jar, a delivery box, or a plastic bottle may seem ready for disposal. Yet many packaging items still have useful qualities: a sturdy shape, a working lid, a transparent surface, or compartments that can keep small belongings organized.
With thoughtful preparation, these materials can become practical household items. Glass bottles can hold flowers, jars can organize craft supplies, and cardboard packaging can divide a messy drawer.
The key is to begin with something you actually need. A successful upcycling project solves a problem, remains useful, and requires relatively few additional materials.
This guide explains how to choose suitable packaging, prepare it, and transform it into useful items for your kitchen, workspace, garden, and other areas of your home.
The Short Answer
Old bottles, jars, and packaging can become vases, desk organizers, drawer dividers, plant-pot covers, and storage containers for non-food items. Start with clean, undamaged materials whose previous contents you can identify, then choose a project suited to their shape and strength.
For the most practical results, prioritize simple transformations that replace something you would otherwise buy. Food storage, heat, electrical components, and containers that previously held hazardous substances require additional care.
What Is the Difference Between Reusing, Upcycling, and Recycling?
These terms describe different ways of extending the value of materials.
Reusing means using an item again, often with little modification. An empty jar used to hold buttons is a straightforward example.
Upcycling usually involves adapting an item into something with a new function or greater practical or decorative value. Turning a delivery box into a fitted drawer organizer is an example.
Recycling involves processing discarded materials into material for new products. A glass bottle collected and processed into new glass follows a different route from a bottle reused as a vase.
The U.S. Environmental Protection Agency places waste prevention and reuse ahead of recycling in its waste-management hierarchy. This supports considering whether an existing item can remain useful before sending it for processing. US EPA
However, keeping every piece of packaging is unnecessary. Save items with a clear purpose and recycle suitable surplus materials according to local rules.
Which Old Bottles, Jars, and Packaging Are Worth Keeping?
Keep items that are cleanable, structurally sound, and suited to a specific household need.
Before saving a container, ask:
- What did it originally contain?
- Can I clean and dry it thoroughly?
- Is it cracked, chipped, rusty, brittle, or otherwise damaged?
- Does its shape suit the intended use?
- Will I need to purchase many additional materials?
- Where will the finished item go?
Glass jars
Wide-mouth glass jars are convenient for organizing small objects because their contents remain visible.
Possible uses include:
- Buttons and sewing supplies.
- Paper clips and binder clips.
- Craft beads.
- Hair accessories.
- Small hardware.
Check the rim, base, and lid carefully. A chipped rim or damaged lid makes a jar unsuitable for many projects.
Glass bottles
Glass bottles often work well as simple vases.
Their narrow openings can support a few flower stems, while their shape provides decoration without extensive modification.
Narrow-necked bottles are harder to clean internally, so avoid projects involving contents you cannot later remove.
Plastic containers
Sturdy plastic packaging may be useful for organizing lightweight, non-food items.
Inspect it for cracks, deformation, persistent odors, and signs of deterioration. Choose uses within the container’s original physical limits.
A plastic identification symbol describes the material category; it should not be treated as proof that the item is suitable for heating, repeated food contact, or every proposed craft project.
Cardboard boxes
Dry, clean cardboard is useful for drawer compartments, document sorting, and gift packaging.
Prioritize boxes with strong corners and intact surfaces. Avoid cardboard that is damp, moldy, greasy, or contaminated.
Packaging inserts
Some inserts already have useful compartments.
A clean cardboard divider or molded tray can sometimes organize craft materials without being cut or decorated at all.
Before modifying packaging, check whether its existing shape already solves your problem.
How Should You Prepare Old Packaging Before Reusing It?
Identify the material and previous contents, inspect the item, and clean it using a method appropriate to that material.
Step 1: Check what it previously held
Start with familiar packaging from ordinary household purchases.
Exclude containers that held pesticides, fuel, solvents, or other hazardous substances from these projects. Follow their labels and local disposal guidance.
EPA advises keeping hazardous household products in their original labeled containers and warns that even empty hazardous-product containers can retain residues. Washing does not make every container appropriate for a new use. US EPA
Step 2: Inspect for damage
Look closely at openings, corners, seams, and bases.
Reject items with:
- Chipped or cracked glass.
- Sharp or exposed metal.
- Brittle plastic.
- Significant rust.
- Mold or moisture damage.
- Persistent contamination.
Decorating over damage does not restore structural strength.
Step 3: Clean appropriately
Wash suitable glass and washable plastic containers with dishwashing detergent and water, then rinse.
Avoid assuming that packaging can tolerate boiling water or a dishwasher. Follow manufacturer guidance where available.
Cardboard generally needs to remain dry. If it cannot be made suitable without soaking, choose another item.
Step 4: Dry completely
Allow containers, lids, and accessible seams to dry before assembly or storage.
Trapped moisture can damage cardboard and affect the condition of stored belongings.
Step 5: Remove labels only if necessary
A label may be useful for identifying the container’s history or may not interfere with the new function.
If removing it, use a gentle method suitable for the surface. Avoid aggressive scraping that could scratch plastic or damage glass.
Step 6: Test the fit
Before gluing, painting, or cutting anything, place the container where you intend to use it.
Check whether it fits the shelf, drawer, windowsill, or desk. This small step can prevent unnecessary work.
How Can You Turn Glass Jars into Useful Household Items?
Glass jars are especially convenient for projects that benefit from visibility and a stable base.
1. Create a small-supply organizer
Use clean jars to separate sewing supplies, stationery, or craft materials.
What you need:
- Clean, intact jars.
- Suitable lids where needed.
- Optional removable labels.
How to make it:
- Group your supplies by type.
- Choose jars that fit the quantity of each group.
- Place frequently used items in easy-to-reach containers.
- Label the jars if their contents are not immediately obvious.
- Store them on a stable shelf or in a drawer that supports their weight.
For sharp items, use a secure container and keep it away from children. Avoid leaving needles or pins loose in an open jar.
The project works best when the jar size matches the contents. A very large jar can make tiny objects difficult to retrieve.
2. Make a desk organizer
Wide-mouth jars can hold pens, pencils, rulers, and paintbrushes.
Test stability before filling them with tall objects. A narrow or lightweight jar may tip when several tools lean to one side.
If the organizer sits on a delicate desk, place it on an existing coaster or suitable protective mat.
Decoration is optional. Clear glass already makes the contents visible.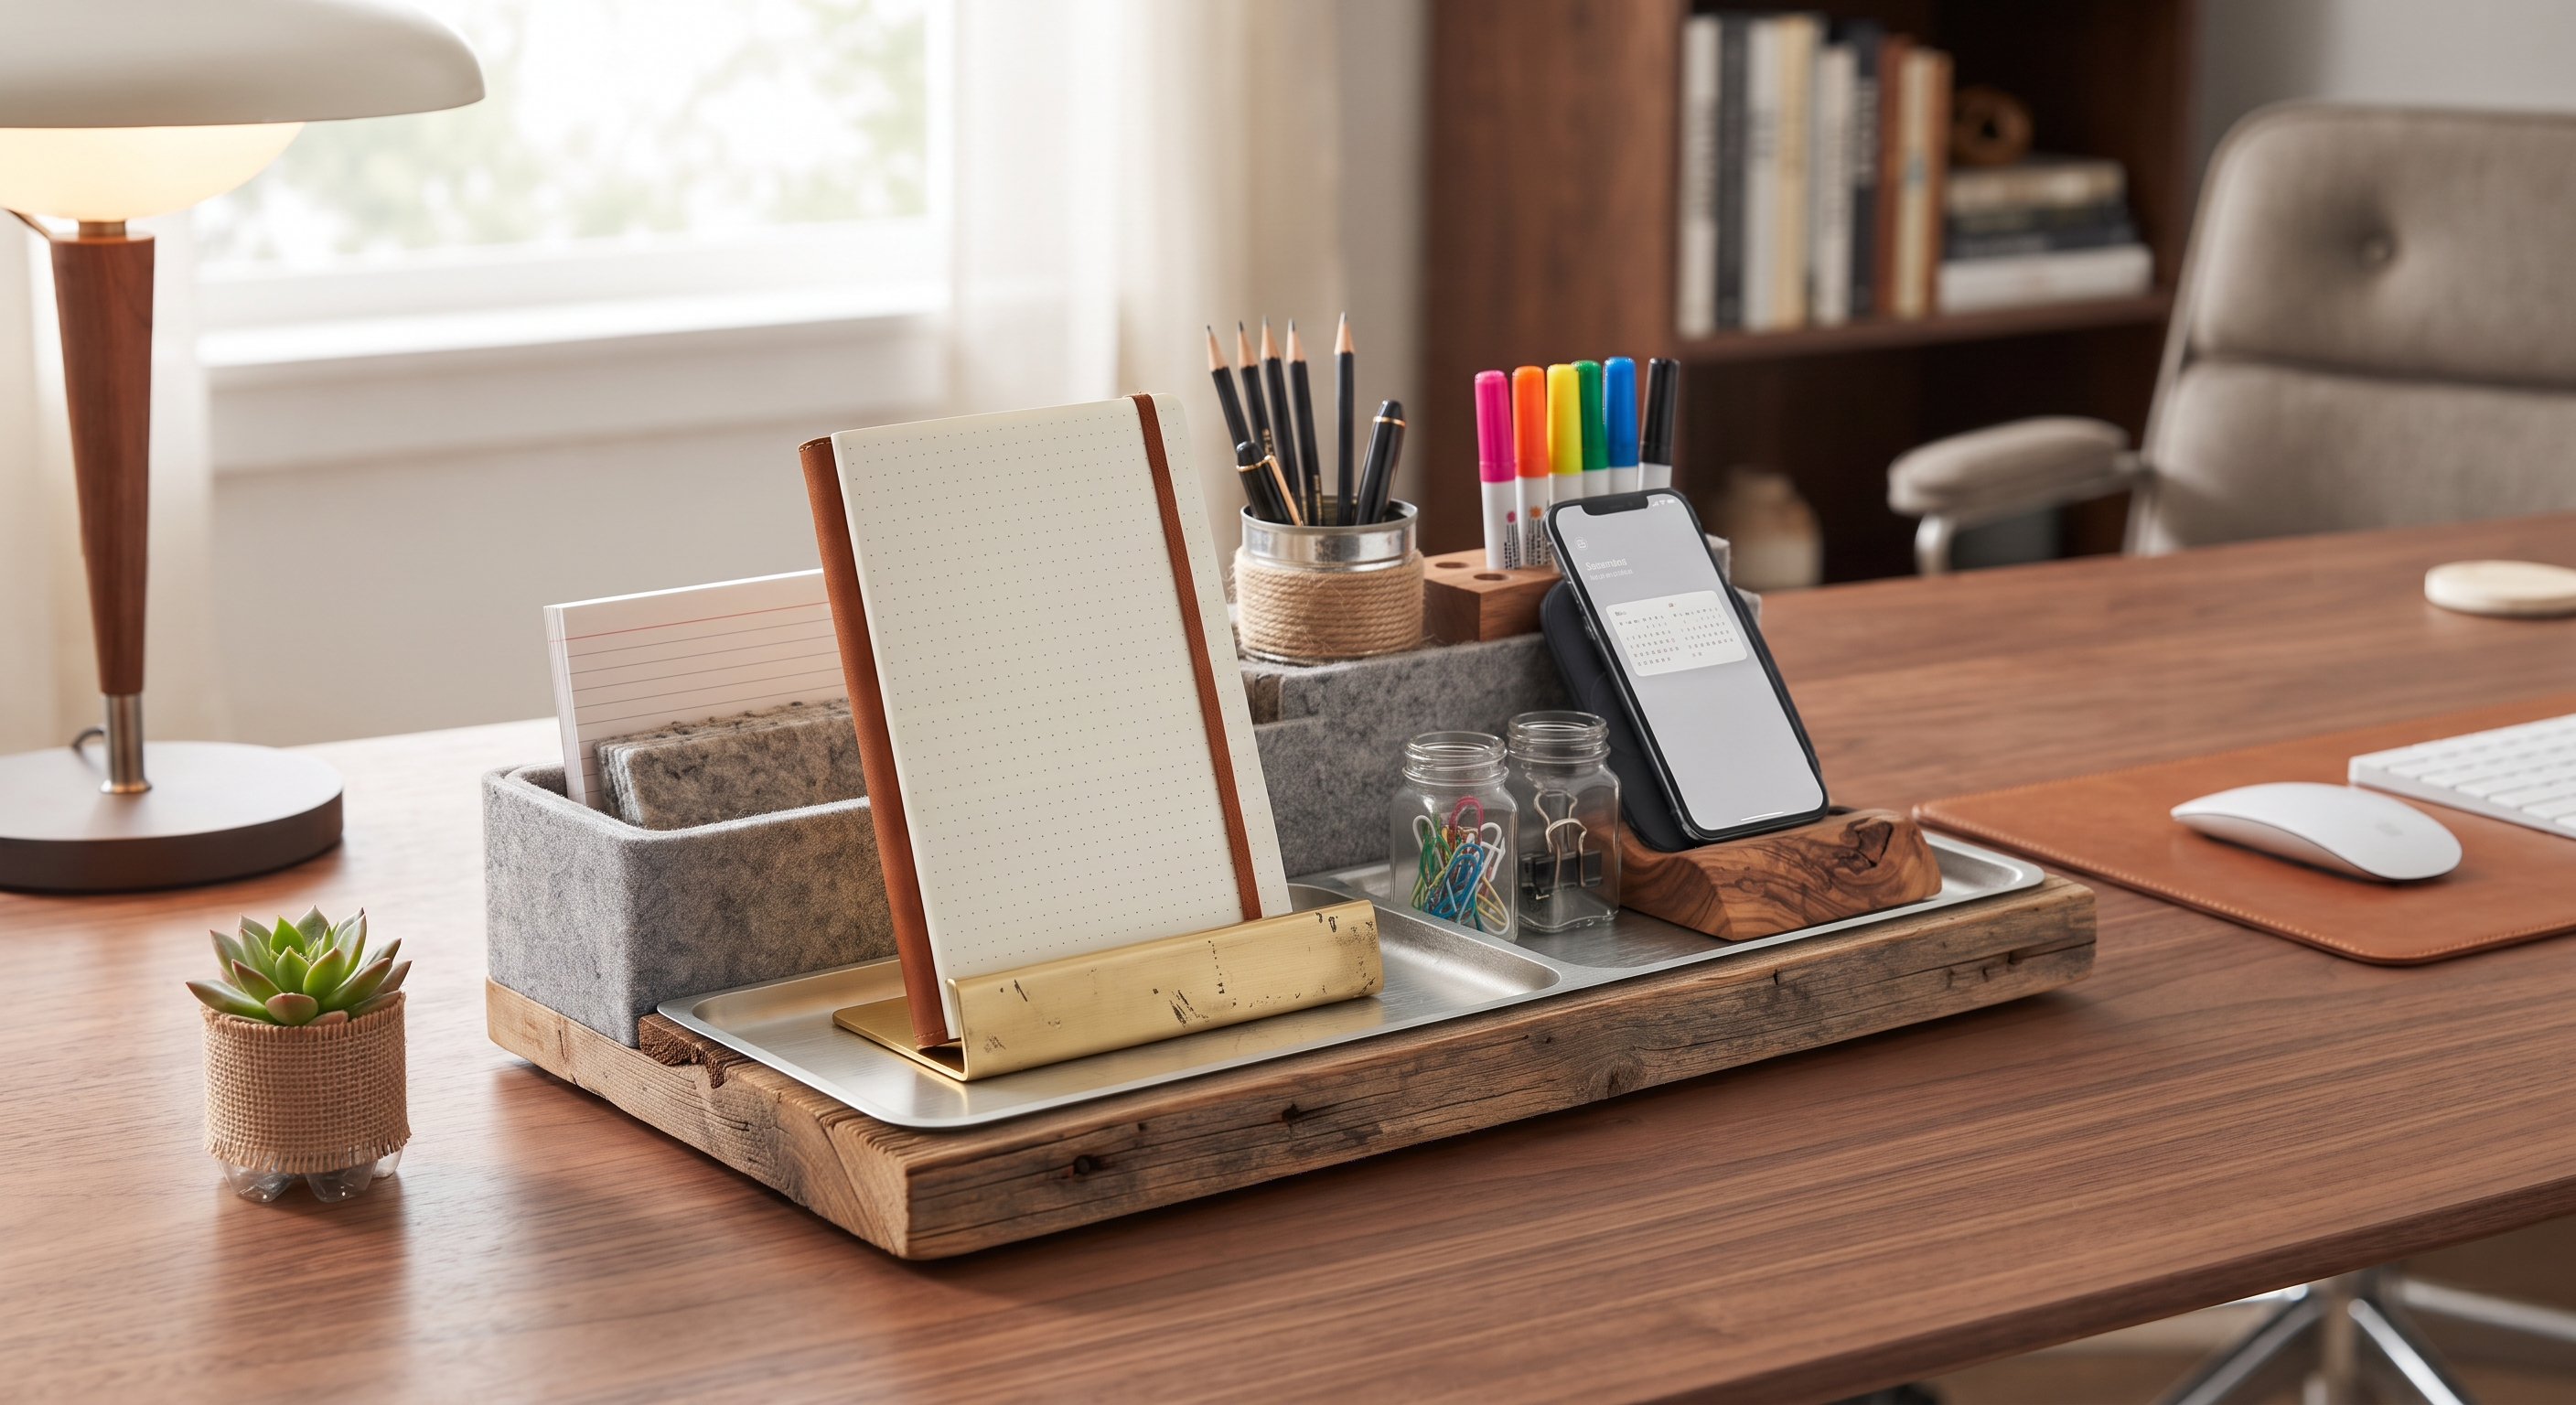
3. Build a flower arrangement
A short jar can hold a small arrangement of cut flowers.
To make it:
- Clean the jar thoroughly.
- Place it on a stable, water-resistant surface.
- Add water and flowers.
- Keep leaves below the waterline to a minimum.
- Empty and clean the jar regularly.
A removable fabric band or reused ribbon can change its appearance without permanently altering the glass.
4. Organize bathroom accessories
A jar can hold hair ties or other small, dry accessories.
Choose a position away from the edge of the sink or shelf. In bathrooms where glass breakage would be a concern, use a suitable unbreakable organizer instead.
Keep jars intended for dry storage away from splashes.
How Can You Turn Old Bottles into Practical Items?
Choose projects that use the bottle’s existing shape and opening. Cutting glass usually adds unnecessary difficulty to a beginner project.
5. Make a single-stem vase
A narrow-necked bottle can become a vase with very little work.
What you need:
- One clean, intact bottle.
- Water.
- A few flower stems.
How to make it:
- Check that the bottle sits firmly.
- Clean the interior as far as its shape allows.
- Add water.
- Insert a small number of stems.
- Place it away from edges and busy walkways.
Avoid arrangements that are too tall or heavy for the bottle.
For a coordinated display, group bottles with similar heights or colors on an existing tray.
6. Create a simple plant-cutting display
Some plants can develop roots from cuttings placed in water. A clean bottle may provide a suitable temporary holder, provided its opening allows the cutting and developing roots to be removed.
Check propagation instructions for the particular plant. Not all species respond to the same method.
Use a stable container, maintain the water, and keep toxic plant species away from children and pets.
A wide opening is often more practical than a narrow neck when it is time to remove the roots.
7. Reuse a sturdy plastic bottle as a watering aid
A clean beverage bottle can help carry a small amount of water to indoor plants without requiring modification.
Use its original opening to pour slowly, and test your control over the flow above a sink first.
This is a simple reuse option for someone who needs to water a few pots. If the bottle becomes damaged, difficult to clean, or awkward to handle, choose a more suitable container.
Avoid holding onto unsuitable packaging merely to complete the project.
How Can You Turn Cardboard Packaging into Home Organizers?
Cardboard is particularly useful for dry, lightweight storage.
8. Make drawer dividers
Delivery boxes can become dividers for stationery, accessories, or craft supplies.
What you need:
- Clean, sturdy cardboard.
- A ruler.
- A pencil.
- Suitable scissors.
- Optional tape.
How to make it:
- Measure the drawer’s internal length, width, and height.
- Decide which objects belong together.
- Mark cardboard strips slightly lower than the drawer’s sides.
- Cut the strips carefully.
- Arrange them to create compartments.
- Adjust the layout before securing anything.
For intersecting dividers, shallow slots can allow strips to fit together. Adults should handle cutting tools, especially where thick cardboard requires a craft knife.
Test that the drawer opens and closes freely before filling it.
9. Turn small boxes into sorting trays
Several small packaging boxes can create modular storage inside a larger drawer.
Start by arranging the boxes without cutting them. Different sizes may naturally accommodate different objects.
Useful combinations include:
- A narrow box for pens.
- A small square box for clips.
- A shallow tray for sticky notes.
- A longer compartment for rulers.
If decoration helps you distinguish categories, use leftover paper sparingly. The organizer does not need to be fully covered to work.
10. Create a document holder
A sturdy box can hold notebooks, folders, or instruction manuals upright if its dimensions and strength are appropriate.
Arrange the documents first to check the fit. Keep enough support around the sides to prevent the box from collapsing.
Place the holder on a dry shelf and avoid overloading it. Cardboard is unsuitable for heavy storage in damp conditions.
11. Make reusable gift packaging
A clean product box can become a gift box.
Use existing paper, a fabric offcut, or a removable band to cover branding if desired. Check that the box is suitable for the gift’s weight.
For future reuse:
- Keep tape to a minimum.
- Avoid covering the entire box with permanent decorations.
- Use a removable gift tag.
- Preserve the lid and corners.
A box that opens easily is more likely to survive for another occasion.
Can Old Containers Become Plant Pots?
Some containers can serve as decorative covers or be adapted for planting, but water management matters.
A convenient approach is to place an existing nursery pot inside a clean outer container.
12. Make a decorative plant-pot cover
Choose an outer container large enough to hold the nursery pot without trapping it.
How to use it:
- Check that the outer container is stable.
- Place the nursery pot inside.
- Remove the inner pot when watering.
- Let excess water drain.
- Empty any collected water from the outer container before returning the plant.
A glass jar or other container without drainage should not automatically be treated as a suitable direct replacement for a draining plant pot.
For edible plants, choose containers with a known suitable history and material. Avoid containers that held chemicals.
If adapting a container requires difficult cutting, drilling, or unstable hanging hardware, select a simpler project or purpose-made pot.
Quick Comparison
Glass jars versus plastic containers
Glass jars provide visibility and can be useful for small dry objects. Their weight may help with stability, but they can break.
Plastic containers are lighter and may be more convenient in places where breakage is a concern. Their durability and suitability vary, so inspect each one and match it to a modest task.
Glass bottles versus wide-mouth jars
Bottles work well as narrow vases because their openings support a few stems.
Wide-mouth jars are easier to access and clean, making them more convenient for organizing objects that you frequently remove.
Cardboard boxes versus rigid containers
Cardboard is easy to resize and arrange into lightweight compartments. It works best in dry indoor spaces.
Rigid containers offer a different level of moisture resistance, depending on their material, but may be harder to reshape.
Simple reuse versus decorative upcycling
Simple reuse can take only a few minutes: clean a jar, fill it with supplies, and put it to work.
Decorative upcycling adds a creative element but may require paint, adhesives, and more time. Choose those additions when they meaningfully improve the item’s usefulness or enjoyment.
How Do You Know Whether an Upcycling Project Is Worth Doing?
A useful project should pass three practical tests.
Does it solve a real problem?
Identify the destination before starting.
For example:
- “This jar will organize the hair ties in my drawer.”
- “These boxes will separate stationery.”
- “This bottle will replace a vase I was planning to buy.”
A clear purpose makes it easier to choose suitable materials.
Does it require relatively little new material?
Consider the full shopping list.
If a project needs several new products, specialized tools, and extensive decoration, compare that effort with simpler alternatives.
This is a practical decision rather than a precise environmental calculation. A complete footprint comparison would require information about materials, production, transport, use, and disposal.
Will the finished object remain useful?
Check whether you can clean it, move it, and maintain it.
An organizer that falls apart quickly or a vase that cannot be cleaned may offer limited value.
EPA’s broader guidance encourages buying only what you need and reusing existing items to reduce waste. Applying that principle to crafts means keeping the finished object’s purpose central. US EPA
How to Choose
When deciding which project to try:
- Begin with a household need. Choose the problem before choosing the craft.
- Use packaging you already have. Avoid buying a product just to obtain its container.
- Check previous contents. Exclude hazardous-product packaging.
- Inspect condition. Reject chipped, cracked, moldy, or deteriorating materials.
- Match the shape to the job. Wide openings suit accessible storage; narrow bottles suit a few stems.
- Keep modifications simple. Favor projects that need little cutting or assembly.
- Think about cleaning. Make sure you can maintain the finished item.
- Consider its location. Moisture, sunlight, traffic, and access by children or pets affect suitability.
- Preserve future options where practical. Removable decorations make it easier to adapt the item again.
- Limit saved packaging. Keep a small project collection with defined uses.
Important Safety Considerations
Food storage requires a separate assessment
The projects above mainly involve non-food uses.
A container’s original use does not establish that it is suitable for every future food-storage condition. Temperature, food type, contact duration, and repeated use are relevant to food-contact suitability. FDA identifies these as important conditions when assessing food-contact plastic applications. FDA
Use containers intended for the food-storage task. Do not assume ordinary packaging is suitable for microwaving, freezing, hot filling, or home canning.
Craft paint, glue, and decoration should not be treated as food-contact materials unless specifically intended for that use.
Avoid heat and open flames
Do not assume an ordinary jar is suitable for candle-making, an open flame, or hot wax.
For a decorative light effect, use a suitable battery-powered light according to its instructions, keeping batteries secure and inaccessible to children.
Keep cardboard and plastic projects away from heat sources.
Avoid beginner glass-cutting projects
Bottle-cutting tutorials can make the process look simple, but cutting glass introduces sharp edges and breakage risks.
For these household projects, choose intact bottles and jars that already have the shape you need.
Supervise cutting and small parts
Adults should handle craft knives, drilling, and other tasks that create sharp edges.
Small lids, beads, magnets, and loose decorations can create hazards for young children. Choose projects and storage locations appropriate to the household.
Do not overestimate strength
Packaging may have been designed for a single journey or a particular load.
Avoid using improvised packaging projects to support heavy objects, hang above people, hold electrical fittings, or perform other tasks where failure could cause injury.
Frequently Asked Questions
What is the easiest project for a beginner?
A clean jar used to organize non-food items is one of the simplest options.
It needs little modification and lets you judge immediately whether the result is useful.
Do I need to paint the containers?
No. Decoration is optional.
A clear jar, plain box, or unpainted bottle may already suit the intended space. Leaving it undecorated also avoids purchasing extra craft supplies.
Can I reuse every glass jar for food?
Do not assume every jar is suitable for all food uses.
A jar intended for a particular commercial product may not be designed for repeated heating, freezing, or home canning. Use manufacturer guidance and containers intended for the task.
Can detergent bottles become drinking bottles?
Do not use detergent or other cleaning-product bottles for drinks or food storage.
Choose a container intended for repeated beverage use.
Should I turn plastic bottles into hanging planters?
Consider the container’s condition, how it will drain, and whether the attachment can safely support the wet contents.
For a beginner, a stable plant arrangement on a surface is easier to assess and maintain than an improvised hanging system.
Is cardboard suitable for bathroom storage?
Only where it stays dry and remains clean.
Bathrooms with frequent splashes, condensation, or persistent humidity may be unsuitable. Use cardboard organizers in dry indoor areas when possible.
Is upcycling always better than recycling?
There is no universal answer for every project.
Practical reuse can keep an item useful, but a project that requires many new materials or is quickly discarded may offer limited benefit. When reuse is unsuitable, follow local recycling guidance.
What should I do with leftover packaging?
Keep only what you can reasonably use.
Sort suitable materials for local collection and follow the rules for your area. Packaging with mixed materials, coatings, or added decorations may need different handling.
The Bottom Line
Start with one item and one clear purpose: a jar for supplies, a bottle for flowers, or a box for drawer compartments.
Keep the transformation simple, choose materials with a known history, and check that the finished object is stable and easy to maintain. A useful object that stays in service is the most rewarding result.
Editorial Sources
- U.S. Environmental Protection Agency: Recycling Basics and Benefits
- U.S. Environmental Protection Agency: What You Can Do About Climate Change — Waste
- U.S. Environmental Protection Agency: Household Hazardous Waste
- U.S. Food and Drug Administration: Recycled Plastics in Food Packaging