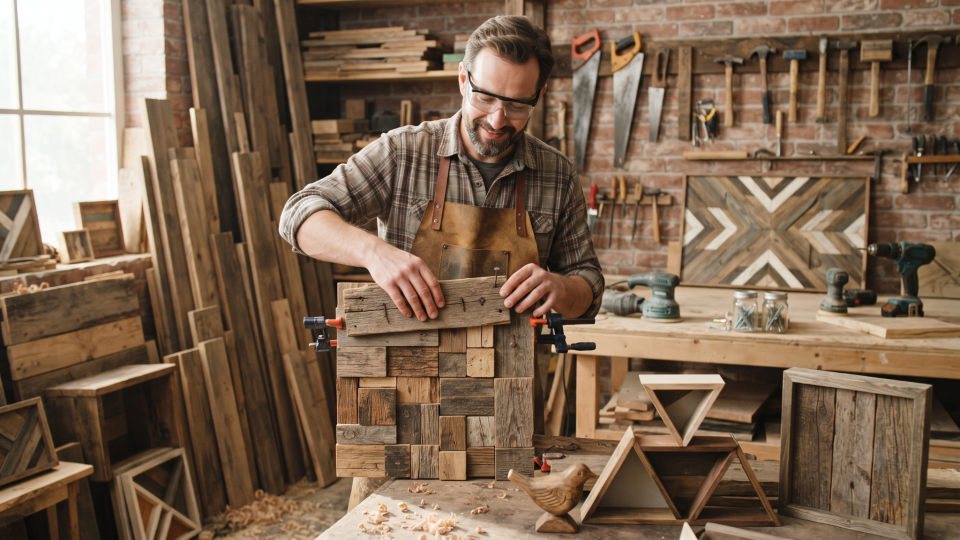
An old wooden tabletop, a stack of leftover floorboards, or a dismantled cabinet can become the starting point for a useful piece of furniture. With careful selection and preparation, reclaimed wood can be transformed into coffee tables, bedside tables, shelving, and storage units with a character that is difficult to reproduce with new materials.
However, making furniture from old wood involves more than sanding a weathered board and adding legs. You need to understand where the wood came from, whether it is suitable for indoor use, and how its condition affects the design.
This guide explains how to choose reclaimed wood, prepare it for a new purpose, select a manageable project, and build furniture that is practical, durable, and easier to maintain.
The Short Answer
You can make furniture from old wood by selecting clean, sound timber with a known history, removing hardware, checking moisture and stability, and building a design suited to the usable material. Start with a small project, such as a side table, and use appropriate joints, supports, and finishes.
Reusing wood can extend the life of existing materials, but its environmental value depends on the whole project—including transport, preparation, additional materials, and how long the finished furniture remains useful.
What Counts as Old Wood or Reclaimed Wood?
Reclaimed wood is timber recovered from an earlier use and prepared for another application. It may come from furniture, buildings, flooring, workshop offcuts, or other sources.
For a home furniture project, the most useful distinction is often whether you know the material’s history.
Wood from existing furniture
A damaged solid wood table or cabinet can provide substantial usable material. A broken base does not necessarily mean the tabletop has reached the end of its useful life.
Possible sources include:
- Solid wood tabletops.
- Bed frames.
- Cabinet doors.
- Drawer fronts.
- Wooden shelving.
- Dismantled desks.
Check the construction carefully. A surface that looks like solid oak may be thin veneer over particleboard. Veneered furniture can still be repaired or repurposed, but it requires a different approach: aggressive sanding can cut through the decorative surface.
Architectural salvage
Salvaged flooring, doors, and beams may offer attractive grain and unusual dimensions.
These materials also require more investigation. Old building timber may contain hidden fasteners, coatings, adhesives, or previous treatments. Buy from a supplier who can explain the source and any preparation already completed.
Workshop leftovers
Unused offcuts from a carpenter or furniture workshop can be an accessible starting point. They may have a clearer history and require less cleaning than demolition timber.
Short pieces are particularly useful for small shelves, drawer dividers, and decorative panels.
Pallets and shipping timber
Pallet wood is often presented as an easy furniture material, but its condition and history vary widely.
A treatment mark does not provide a complete record of what the pallet carried or whether it encountered spills. For indoor furniture, especially items used around food or children, a clearly documented source is a better starting point than an unknown discarded pallet.
Practical recommendation: Begin with sound wood from known indoor furniture or a reputable reclaimed timber supplier.
Why Make Furniture from Old Wood?
The main benefits are material reuse, design flexibility, and the opportunity to create something suited to your home.
It keeps usable materials in service
Reusing an existing board gives it another useful role instead of discarding it immediately. EPA guidance on construction materials identifies salvage and reuse as ways to reduce disposal and demand for newly processed materials.
That supports a practical approach: use what remains serviceable before buying replacements.
It offers distinctive visual character
Old timber may contain nail holes, changes in color, worn edges, or marks from its previous use.
You can preserve some of these features while still producing a comfortable, cleanable surface. A rustic appearance does not require leaving loose splinters or unstable cracks.
For example, a coffee table might retain shallow marks on its top while having smooth edges and a carefully fitted base.
It lets you design around available materials
Reclaimed wood encourages you to work with the boards you actually have.
A short, wide panel might become a bedside table. Several narrow boards might suit a small tabletop. A sound cabinet door might become the front of a new storage unit.
This flexibility can reduce waste because the design follows the material rather than forcing unsuitable pieces into a fixed plan.
It may reduce material costs
Free or inexpensive timber can lower your purchasing costs, but the total project may still include:
- Transport.
- Fasteners and brackets.
- Adhesive.
- Abrasives.
- Finishing products.
- Tool rental.
- Professional milling.
Reclaimed wood is not automatically the cheapest option. Compare the full cost with repairing furniture you already own or buying a suitable secondhand piece.
How Can You Tell Whether Old Wood Is Suitable for Furniture?
Assess its source, condition, dimensions, and intended use before cutting or sanding.
Appearance alone cannot establish strength or safety.
Check the history first
Ask the owner or supplier:
- Where was the wood previously used?
- Was it indoors or outdoors?
- Was it painted, treated, or exposed to chemicals?
- Has it been stored dry?
- Has it been inspected for pests and metal?
If the answers are uncertain, choose a lower-risk source rather than assuming cleaning will solve every problem.
Separate cosmetic marks from serious damage
Shallow scratches and old nail holes may be acceptable. Soft decay, crumbling fibers, deep splits near joints, and severe distortion require much more caution.
Pay particular attention to the places where legs, brackets, hinges, or screws will attach.
A board can look attractive across most of its surface while being unsuitable at the exact point where a connection must carry weight.
Look for signs of pests
Inspect for insect holes, powdery debris, and damaged areas. Existing holes do not necessarily indicate an active infestation, but fresh debris or ongoing damage deserves professional assessment.
Keep questionable timber away from your household furniture until the issue is resolved.
Check how much usable wood remains
A rough board may need trimming and flattening before it can be used.
Measure the material you expect to have after removing damaged ends and correcting irregular surfaces. This prevents designing a thick tabletop around boards that will become much thinner during preparation.
Consider moisture and movement
Wood exchanges moisture with the surrounding air, which affects its dimensions and performance. Old timber can still swell, shrink, cup, or split when its environment changes. The USDA Forest Products Laboratory explains this relationship in its Wood Handbook.
Store suitable boards with airflow around them in conditions reasonably similar to their future indoor location. Use a moisture meter where possible and check for stable readings rather than relying on a fixed waiting period.
What Furniture Projects Are Best for Beginners?
Start with a small piece that has simple connections and modest loads. Avoid making seating or other safety-critical furniture as your first experiment.
A small side table
A side table is a manageable way to learn measuring, surface preparation, finishing, and attaching a top.
A reclaimed panel paired with a compatible manufactured base can reduce the amount of joinery required.
Check that the finished table has a stable footprint and that its hardware suits the panel’s thickness.
A coffee table
A coffee table provides more room to display reclaimed wood’s grain and surface marks.
Use a proven design for the base and connections. Do not assume a wide tabletop will remain flat simply because it has been screwed tightly to a frame.
A low storage unit
A simple storage unit can make use of mixed board lengths. The design should resist sideways movement, and shelves need support appropriate to their span and intended load.
Follow relevant anchoring guidance, especially where children may climb or pull on furniture.
A wall shelf
A shelf uses relatively little wood, but installation is part of the build.
Its safe capacity depends on the board, brackets, fasteners, wall construction, and mounting method together. Decorative brackets alone do not establish a reliable load rating.
Projects to save for later
Chairs, stools, benches, bunk beds, and elevated sleeping platforms need dependable structural design.
Their joints experience movement and repeated loading. Use a proven plan and appropriate expertise rather than improvising around damaged or uncertain timber.
How Do You Prepare Old Wood Before Building?
Preparation should happen in stages, with safety and material assessment completed before abrasive work begins.
1. Resolve unknown coatings and contamination
Do not begin by power-sanding an unidentified painted surface.
Old coatings may require assessment for lead or other hazards. EPA guidance explains that disturbing lead-based paint can create dangerous dust; its housing guidance should not be treated as a universal age rule for furniture in every country.
If the wood has an unexplained chemical odor, oily contamination, or an uncertain industrial history, obtain specialist advice or select different material.
2. Remove fasteners and hardware
Inspect all faces and edges for nails, screws, staples, and brackets.
Use suitable removal tools and check again before machining. A metal detector can help locate concealed fasteners, although it does not replace careful inspection.
Mark unresolved areas clearly and avoid cutting through them.
3. Clean without soaking
For suitable, uncontaminated wood, begin with a brush and vacuum to remove loose dirt.
If further cleaning is needed, use a method compatible with the material and existing finish. Avoid saturating boards, particularly veneered panels or materials with exposed composite cores.
Allow dampened wood to dry and reassess its condition before assembly.
4. Plan your cuts
Lay out the components before cutting.
Try to position:
- Sound wood at connection points.
- Attractive grain on visible surfaces.
- Defects outside narrow or highly stressed components.
- Shorter usable sections where the design permits them.
Label the pieces so that their intended orientation remains clear.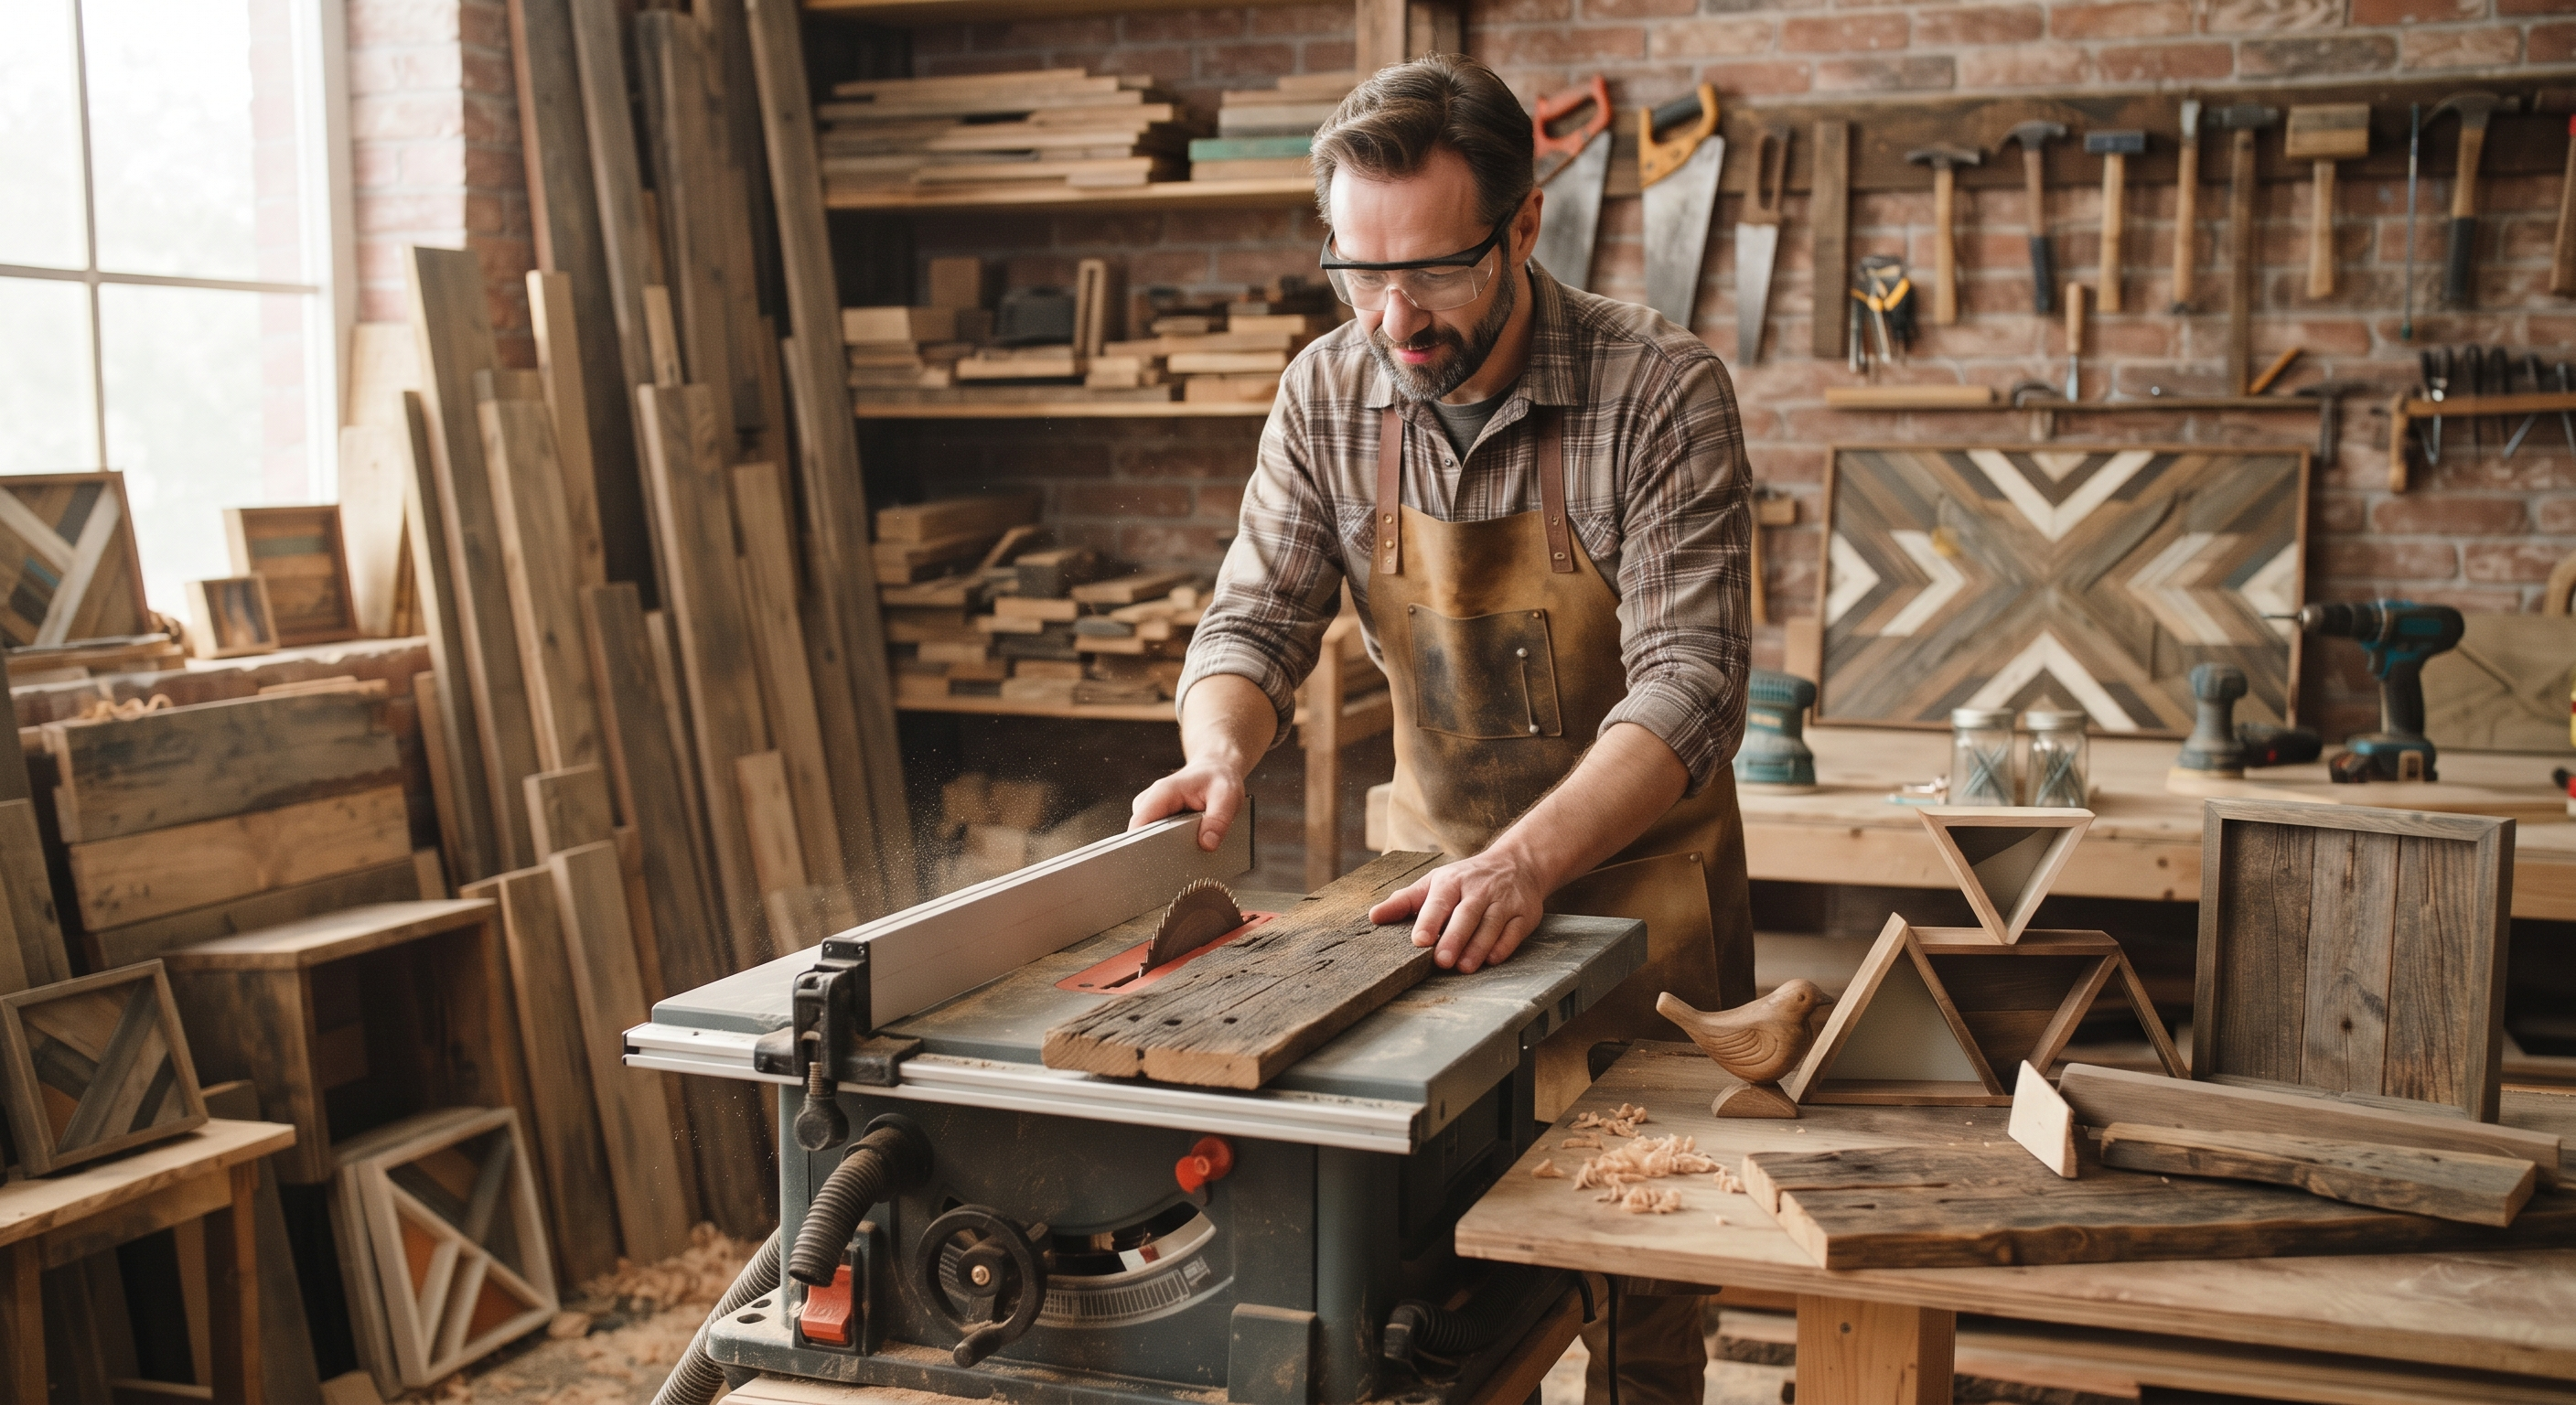
5. Flatten and size only as much as necessary
Boards used in a glued panel need properly prepared joining edges. Individual boards may also need flattening or thicknessing.
If you do not have suitable equipment, a local woodworking shop may be able to help. Do not feed suspect, metal-containing, or poorly supported salvage through machinery.
6. Sand suitable surfaces progressively
Once the material and coating are confirmed appropriate for sanding, work through abrasives that suit the starting condition and intended finish.
For relatively clean bare wood, a progression such as 80, 120, and 180 grit may be useful, but it is only an example. Follow the finish manufacturer’s preparation instructions and avoid unnecessary coarse sanding.
Wood dust requires control. HSE recommends capturing it at the source with extraction rather than allowing it to spread through the workspace. Use appropriate eye, hearing, and respiratory protection for the work.
How Can You Make a Simple Reclaimed Wood Side Table?
A practical first project is a small reclaimed wood top attached to a compatible, stable furniture base.
The following workflow describes the process; it does not replace a tested construction plan or the base manufacturer’s instructions.
Step 1: Choose the table’s purpose
Decide where it will stand and what it needs to hold.
Measure the available space and the furniture beside it. A table intended for a lamp and a book has different requirements from a surface supporting heavy equipment.
Step 2: Select the top
An existing solid wood panel can simplify the project.
If you need to join several boards, prepare their edges properly and use suitable adhesive and clamping methods. Glue is not a substitute for accurate fit or sound material.
Step 3: Choose a compatible base
Check:
- Recommended tabletop dimensions.
- Supported tabletop weight.
- Mounting plate size.
- Required screw type and penetration.
- Stability of the assembled design.
Avoid combining an oversized top with a narrow base.
Step 4: Prepare and dry-fit
Trim and smooth the top, ease sharp edges, and position the base before drilling.
Confirm that the mounting points avoid cracks, weak sections, and old holes.
Measure screw length carefully so that fasteners cannot break through the finished surface.
Step 5: Allow for wood movement
A solid wood top needs an attachment method that accommodates seasonal movement.
Depending on the design, suitable options may include slotted mounting holes or purpose-made tabletop fasteners. Follow an established woodworking detail rather than rigidly fixing a wide panel across its grain.
Step 6: Apply the finish
Test the finish on an offcut or hidden area first.
Observe the manufacturer’s instructions for application, ventilation, recoating, and full cure. A surface that feels dry may still need more time before normal use.
Step 7: Assemble and inspect
Place the table on a level surface and check for rocking, loose connections, projecting hardware, and sharp edges.
Use it only within the limits of its design. A side table should not become an improvised stool or step.
Quick Comparison
Wood from Existing Furniture
Old solid wood furniture is often a practical starting point because it may already provide panels and components close to the dimensions you need. A damaged dining table, for example, could supply wood for a smaller coffee table or bedside table.
Inspect existing finishes, joints, and concealed damage before working. Check whether each component is solid wood or veneer, since thin veneer can be damaged by aggressive sanding.
Best suited for: Side tables, small storage units, and projects that reuse existing panels.
Reclaimed Floorboards
Reclaimed floorboards can create attractive furniture surfaces, particularly when you want to preserve visible grain, worn coloring, and shallow marks from previous use.
Preparation can take time. Boards may contain nails, grooves, coatings, or adhesive residue. Check their history and remaining thickness before deciding whether they can be safely cleaned, flattened, and joined.
Best suited for: Tabletops and decorative panels made from carefully assessed boards.
Salvaged Wooden Beams
Salvaged beams offer substantial sections and distinctive grain. They can provide material for furniture legs, bases, and other large components.
Their size also creates challenges. Heavy handling, hidden metal, deep cracks, and machining requirements make them more suitable for experienced woodworkers with appropriate equipment.
Best suited for: Substantial furniture projects built using proven construction methods.
Clean Workshop Offcuts
Workshop offcuts are useful for smaller projects, especially when the supplier can identify the wood and explain its history.
Their main limitation is size. You may need to adapt your design around short lengths or limited quantities rather than expecting enough matching material for a large piece.
Best suited for: Small shelves, drawer dividers, furniture details, and decorative accessories.
Unknown Pallet Wood
Discarded pallets may appear inexpensive, but their previous use and exposure can be difficult to establish. A treatment stamp does not provide a complete record of spills, contamination, or storage conditions.
For indoor furniture, choose timber with a documented history whenever possible. Reject questionable material rather than assuming that sanding or applying a finish will make it suitable.
Best suited for: Carefully assessed projects where the pallet’s source, condition, and suitability are known.
How to Choose
- Choose the purpose first. Define the size, location, and expected load.
- Prioritize a known source. Clear history is more valuable than a dramatic weathered appearance.
- Match the project to the timber. Short boards suit small components; wide sound panels suit tabletops.
- Check finished dimensions. Allow for trimming, flattening, and damaged sections.
- Budget for the whole build. Include transport, hardware, finishing, and any professional work.
- Use proven structural details. Select joints and supports appropriate to the furniture’s use.
- Plan for maintenance. Favor accessible fasteners and finishes you can reasonably repair.
What Finish Should You Use on Reclaimed Wood Furniture?
Choose a finish according to expected wear, moisture exposure, appearance, and maintenance requirements.
No finish makes contaminated wood suitable for every use.
Clear film finishes
A suitable clear coating can preserve visible grain while providing a protective surface.
Performance varies by product. Check whether it is intended for tabletops, indoor furniture, or another application, and follow its full curing instructions.
Furniture oils and hardwax oils
These products can emphasize grain and may offer convenient local repairs.
However, “natural oil” is not a complete performance or safety description. Formulations differ, as do water resistance, application requirements, and maintenance schedules.
Paint
Paint can bring visual consistency to furniture made from boards of different colors.
Assess existing coatings before preparation, then use compatible preparation products and paint. Test adhesion rather than assuming a new coat will bond to every old surface.
Wax
Wax may suit some decorative or lightly used surfaces.
Check its limitations before choosing it for a tabletop exposed to regular spills and abrasion.
For any finish, select based on documented suitability rather than a broad “eco-friendly” label.
Important Safety Considerations
Do not use uncertain treated timber indoors
Avoid using old railway sleepers, utility poles, or unidentified preservative-treated timber for indoor furniture without appropriate expert assessment.
EPA specifically warns against burning preservative-treated wood because toxic chemicals may be released in smoke and ash. Do not burn questionable offcuts as a disposal shortcut.
Control dust and keep the work area separate
Use extraction at sanding and cutting tools, and keep children and pets away from the workspace.
Do not rely on an open window to manage substantial dust production. Clean using methods appropriate to the hazard, especially where old coatings are involved.
Treat stability as part of the design
A polished surface does not compensate for weak joints or a tipping risk.
Use verified hardware, suitable supports, and appropriate anchoring. Seek experienced help for seating, tall furniture, heavy wall-mounted pieces, and unfamiliar joinery.
Handle finishing rags safely
Rags used with certain oils and stains can self-heat and ignite if handled incorrectly. Follow the product’s instructions and local fire-service guidance for storage and disposal; never leave oily rags piled together.
Use appropriate material for food and children’s products
Do not assume reclaimed wood is suitable for cutting boards, feeding surfaces, toys, or nursery furniture.
These applications introduce additional requirements for material history, coatings, cleanability, construction, and product safety.
Frequently Asked Questions
Is reclaimed wood furniture always better for the environment?
No. Reuse can avoid waste and reduce demand for new material, but that does not establish a lower environmental impact for every project.
A useful assessment includes transport, preparation, added materials, durability, and whether the item replaces something you would otherwise purchase. Repairing an existing table may be a better use of resources than dismantling it to build another.
Is old wood stronger than new wood?
Not automatically.
Strength depends on factors including species, dimensions, grain, defects, deterioration, and connection design. Age and a weathered appearance do not provide a reliable load rating.
Can I make furniture from old pallets?
Possibly, but only after evaluating the source and condition.
Do not treat a pallet stamp as proof of cleanliness or suitability for indoor furniture. If you cannot establish its history, select better-documented timber.
Do I need to remove every old nail hole?
No. Sound, clean nail holes can remain as visual features.
However, holes should not weaken critical joints, conceal remaining metal, or leave rough areas that catch skin and fabric.
How long should reclaimed wood acclimatize?
There is no universal number of days.
The time depends on the wood’s starting condition, thickness, storage, and future environment. Check moisture and stability rather than assuming one week is always enough.
Can I keep the original weathered surface?
Yes, where the surface is sound, clean, and suitable for its intended use.
Preserve color and shallow marks while removing loose fibers and addressing unsafe coatings. More heavily textured surfaces may work better on decorative panels than on frequently wiped tabletops.
Is reclaimed wood furniture cheaper to make?
Sometimes.
Savings on timber can be offset by preparation, hardware, finishing, and tool costs. Make a project budget before accepting a large quantity of “free” wood.
What should I do with leftover pieces?
Keep useful, clearly identified offcuts for repairs or smaller projects.
Offer suitable material to another maker or check local recovery options. Keep coated, treated, and contaminated waste separate and follow local disposal requirements.
The Bottom Line
Making furniture from old wood starts with choosing the right material for a useful design. A modest side table made from known, sound timber is a better first project than an ambitious build using boards with an uncertain history.
Inspect carefully, prepare only after resolving coating and contamination concerns, and give the joints, stability, and finish as much attention as the appearance. The result should be furniture you can use, maintain, and repair for years.
Editorial Sources
- U.S. Environmental Protection Agency — Sustainable Management of Construction and Demolition Materials
- USDA Forest Products Laboratory — Wood Handbook
- UK Health and Safety Executive — Wood Dust
- U.S. Environmental Protection Agency — Lead-Safe Renovations for DIYers
- U.S. Environmental Protection Agency — Chromated Arsenicals (CCA)
- City of Bend — Preventing Spontaneous Combustion of Oil-Soaked Rags